Practice Objects
In order to get started modeling objects, we are going to make two practice objects, a chess piece and a simple animal/human. You can follow the tutorials posted to assist with this.
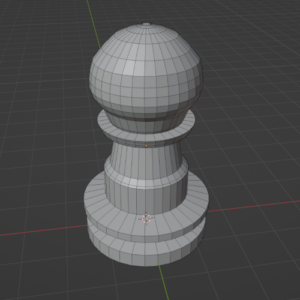
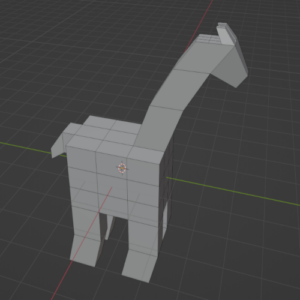
1. Chess Pawn
Create a simple chess piece like a pawn. These objects require using the extrude, scale, rotate, and loop cut tools. You will also practice selecting edges, faces, and loops. Create a pawn for this practice assignment. You can create more complex pieces, like the knight (horse), if you want more of a challenge. The video shows how you can quickly create all the pieces in a chess board. Create more pieces for the Beginner Modeling assignment.
Simple Chess Pieces
Minutes 3:00-4:30 show you how to create a simple pawn.
2. Simple, Block-Style Human or Animal
Creating simple, block-style humans or animals are very similar. You will learn the subdivide, extrude, and scale tools. For a human, you extrude 2 legs, 2 arms, a neck and a head out of a subdivided cube. For an animal, you extrude 4 legs, a head and a neck out of the same subdivided cube. The following steps demonstrate how to create a giraffe, but you can easily modify the steps to create a human, dog, cat, or other animal.
Block-Style Giraffe Tutorial
Step 1. Create body
- Create a cube and resize it as needed for the body.
- Go into edit mode.
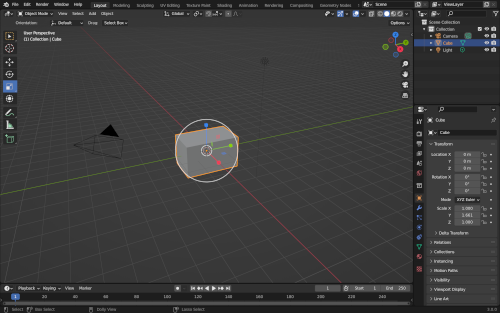
Step 2. Subdivide
- Select all the faces in the cube pressing “A” on the keyboard.
- Right-Click and choose Subdivide.

Step 3. Subdivide 2x
- Open the Subdivide Menu in the bottom left of the screen.
- In the “Number of Cuts” section, choose “2”.
- If all the faces of the cube are selected it should subdivide all of them.
- 2 cuts is always a good starting point for basic human/animal shapes.

Step 4. Select Legs
- Select the 4 faces on the bottom of the cube where the legs will be. Make sure you are in face select and not edge or vertex select mode (top left of window).
- Use a Shift-Click to select multiple faces at once.
- You can do this one leg at a time, but to keep the legs symmetrical it is easier to work on them all at once.

Step 5. Extrude Legs
- With the legs selected, use the Extrude tool (or press “E” on the keyboard) to extrude the legs.
- Stop at the knee.
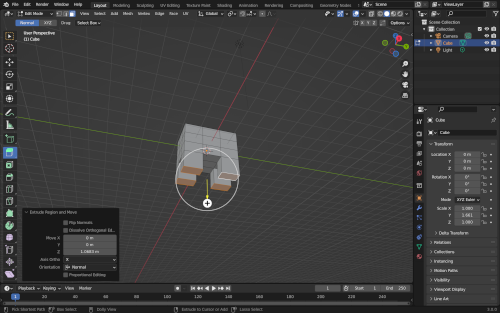
Step 6. Finish Legs
- Extrude again to finish the legs. When modeling creatures, stop extrusions at the joints. This puts mesh points in for the joints so that you can bend the limbs.
- I then used the move tool to move the bottom part of the legs back.
- If you wanted to add feet, extrude a small amount at the “ankle” to create a foot area. You can then extrude out the front to create a foot.

Step 7. Extrude Neck
- Select the face on top and extrude up to start the neck.
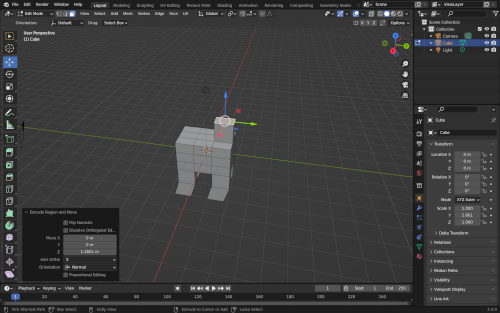
Step 8. Finish Neck
- Extruded and moved the faces a few time to create a little bit of a curved neck.
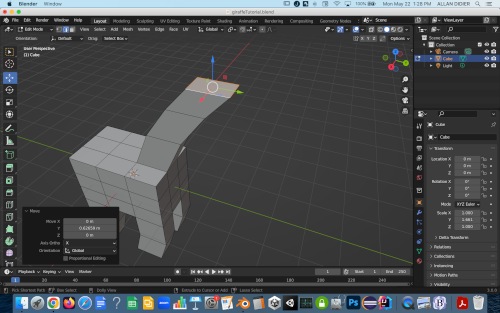
Step 9. Head
- Extrude out from the neck to create a head.
- Scale (Scale tool or key “S”) the face down to bring it more to a point.
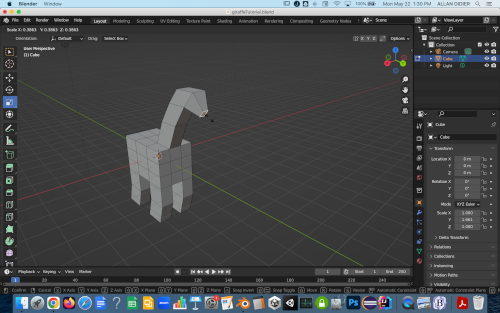
Step 10. Subdivide Horns
- Select the face on top of the head.
- Right-click and Subdivide only that face.
- Number of cuts = 2.
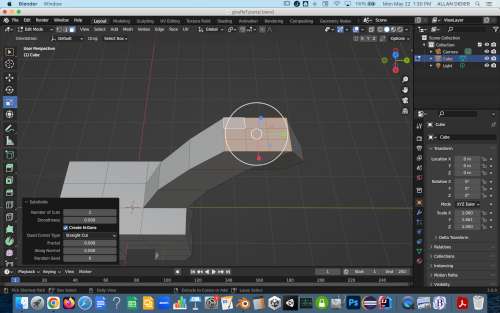
Step 10. Extrude Horns
- Select the horn faces.
- Extrude and scale the horns out.

Step 11. Tail
- Create a tail by extruding and scaling a face from the back of the cube.
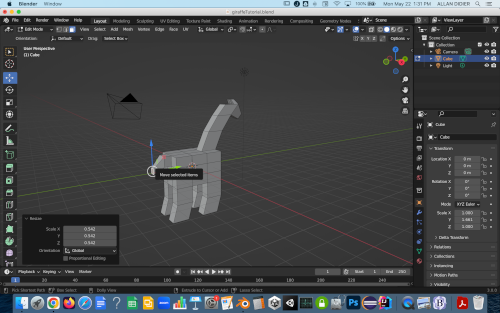
Step 11. Finished
- Your block-style giraffe is finished.
